Game concept artist
You have a creature, prop, or costume sketch and need a volume study before committing to a final design.
A rough model lets you test silhouette, camera angles, and proportion earlier in the concept cycle.
hunyuan3d examples freeImage conversion
hunyuan3d image to 3d workflows turn a single visual reference into a practical 3D starting point. Upload a clear image, guide the result with useful context, and hand the generation step to the tool.
Limits and edges
A reference image gives the model visual evidence, not complete production instructions. These limits are normal, and each has a practical way to improve the next result.
A single image does not show the back, underside, or concealed construction of an object, so those areas may be inferred rather than copied.
WorkaroundUse a multi-view reference set when symmetry, back-side detail, or exact proportions matter.
Thin straps, small seams, narrow gaps, and tiny surface details can disappear when the reference does not provide enough visible pixels.
WorkaroundCrop tightly, improve image clarity, and plan to refine small features after generation.
Glass, glossy metal, water, and strong reflections can make it difficult to separate material appearance from actual form.
WorkaroundProvide a neutral reference with even lighting or describe the intended material and solid shape.
An image-derived model may need cleanup, topology changes, scale checks, UV work, or material adjustments before production use.
WorkaroundTreat the output as a blockout, then inspect and edit it in your preferred 3D software.
How it works
The best results come from giving the workflow a clean visual signal and a specific goal before you begin.
Start with one object, a clear silhouette, and enough contrast to distinguish the subject from its background. Front or three-quarter views are often easier to interpret.
State what the object is, which features must remain, and what style or level of detail you want. Mention important proportions instead of relying on the image alone.
Review the generated shape from multiple angles, identify inferred areas that need correction, and continue in a 3D editor when the asset needs production-ready finishing.
Related workflows
Image input is only one part of the Hunyuan3D workflow. These related pages help you choose a better entry point for painting, browsing, or learning the process.
Visual handoff
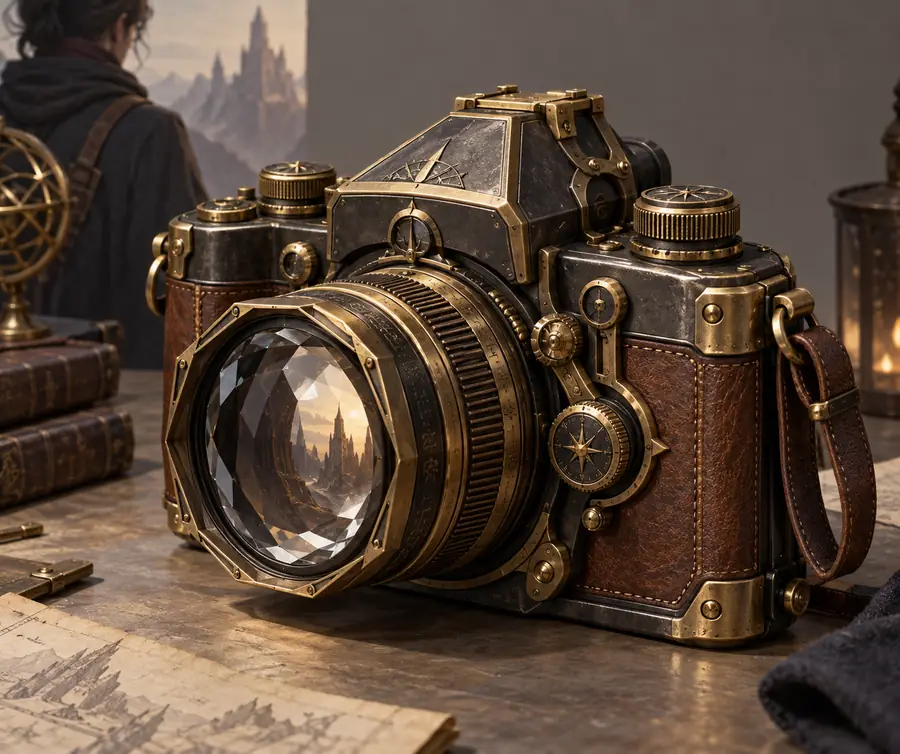
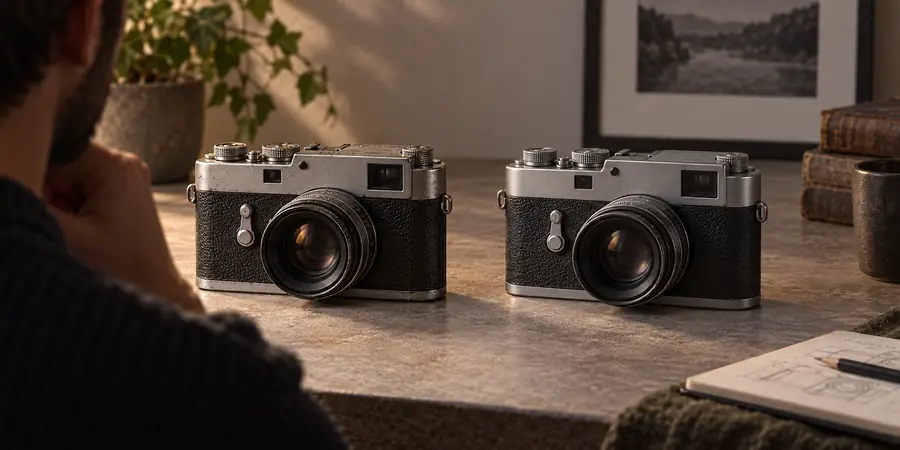
A strong image helps establish the subject and silhouette. The generated model then gives you a tangible base for inspection and further work.
Compare the silhouette first, then inspect hidden surfaces, proportions, and material interpretation.
Input comparison
Both approaches can be useful. The right choice depends on whether speed or control matters more for the asset you are making.
Single image
Multi-view reference
Single image
Low; one clear image can be enough
Multi-view reference
Higher; several views must be prepared
Single image
Strong from the supplied angle
Multi-view reference
More consistent across angles
Single image
Mostly inferred
Multi-view reference
Better supported by additional views
Single image
Fast concepts and early blockouts
Multi-view reference
Important proportions and repeatable forms
Single image
Clear subject, readable outline, limited clutter
Multi-view reference
Aligned views with similar scale and lighting
Single image
Usually more correction on unseen areas
Multi-view reference
Still requires inspection, but has richer visual guidance
Practical uses
Image-based generation is most valuable when it shortens the distance between an idea, a visual reference, and a model you can evaluate.
You have a creature, prop, or costume sketch and need a volume study before committing to a final design.
A rough model lets you test silhouette, camera angles, and proportion earlier in the concept cycle.
hunyuan3d examples freeA reference photo shows the general shape of a product or packaging concept, but no 3D file exists yet.
The generated base can support early presentation scenes, layout tests, and questions for the next modeling pass.
hunyuan 3d free onlineYou need a placeholder asset from concept art while gameplay, level design, or interaction tests are still changing.
A quick blockout gives the team something spatial to test without waiting for a finished production mesh.
how to use hunyuan 3d for freeYou want to explore how a favorite object, character, or fantasy design might translate from a flat image into volume.
The result provides a hands-on starting point for learning inspection, editing, and material refinement.
hunyuan3d-paintCommon questions
It is used to create a 3D starting point from a visual reference image. This is useful for concept exploration, blockouts, placeholders, and early asset studies, but the result may still need modeling and cleanup.
One image can provide enough information for a useful first model, especially when the subject has a clear silhouette and simple form. The unseen sides are inferred, so a complete production-ready asset should be checked from multiple angles.
Use a sharp image with one main subject, a readable outline, and limited background clutter. Even lighting and a clear front or three-quarter view make it easier to interpret the object’s shape.
Not necessarily. The output is an interpretation of the visible evidence, so proportions, hidden areas, thin details, and reflective materials may differ from the reference. Treat it as a starting point and refine the areas that matter most.